Tuesday, February 24, 2009

Time passes...

Well, it looks like there's a huge gap in my crib-making documentation. The following steps don't have pictures, so you'll have to be content with just seeing the finished product at the end.

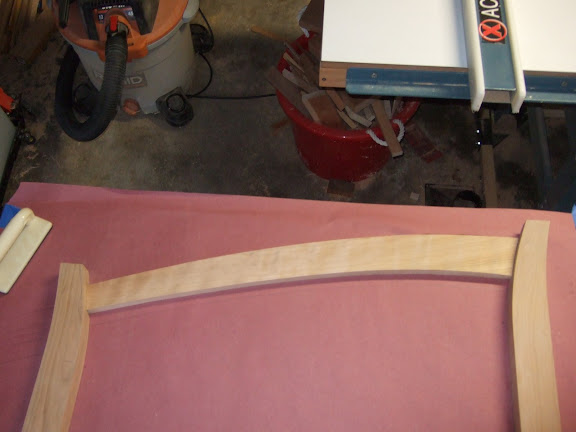
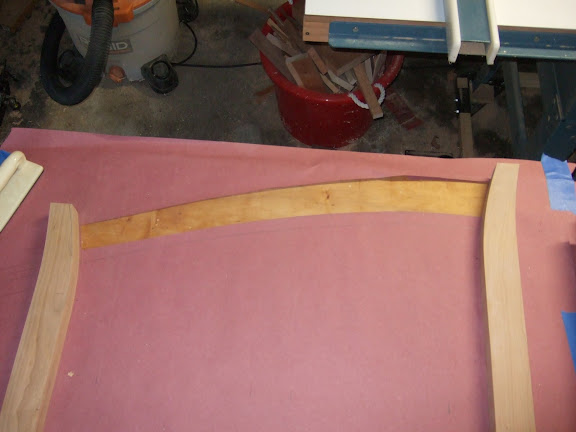
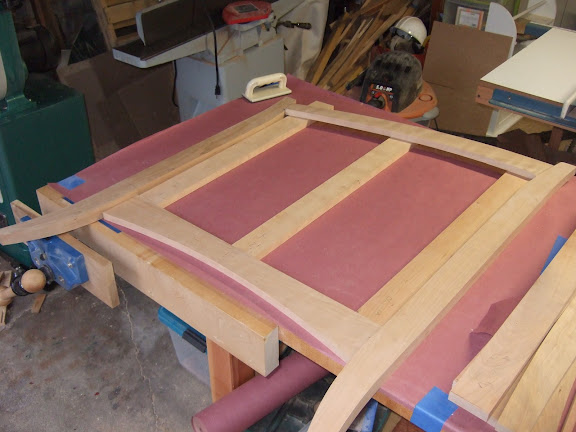
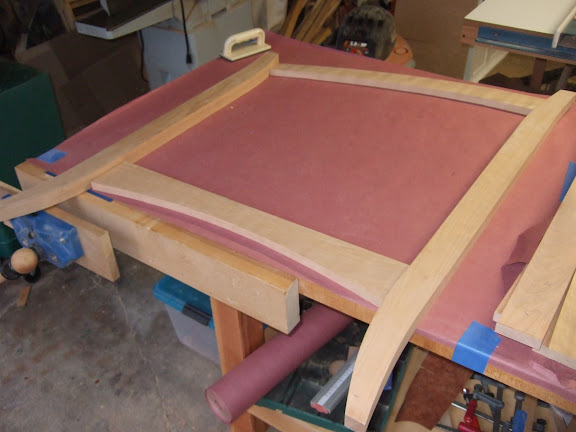
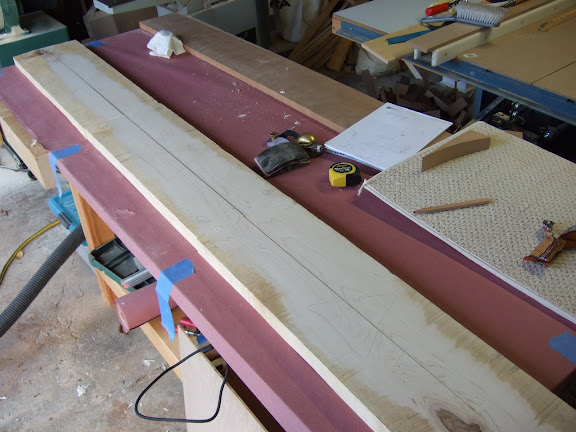
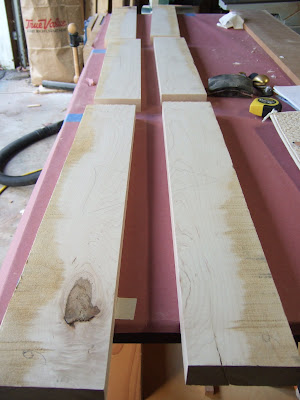
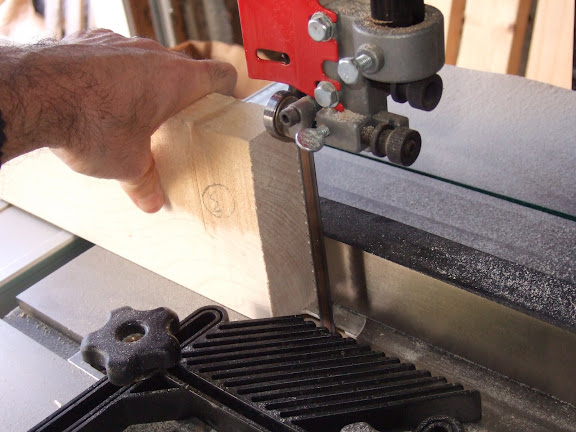
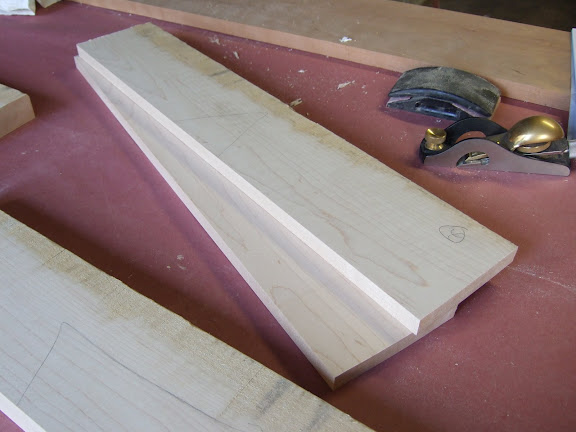
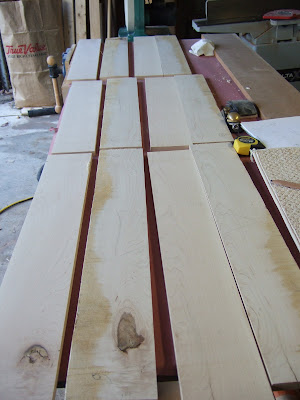
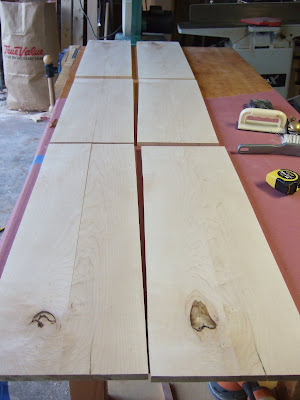
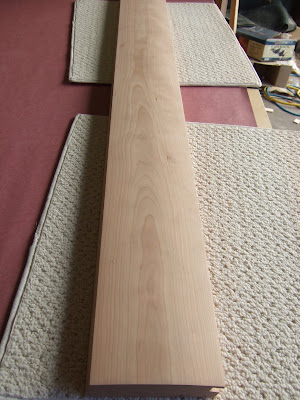
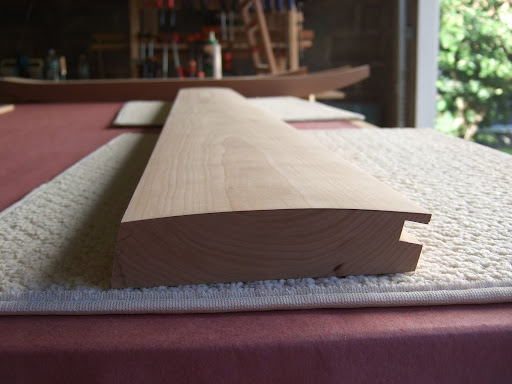
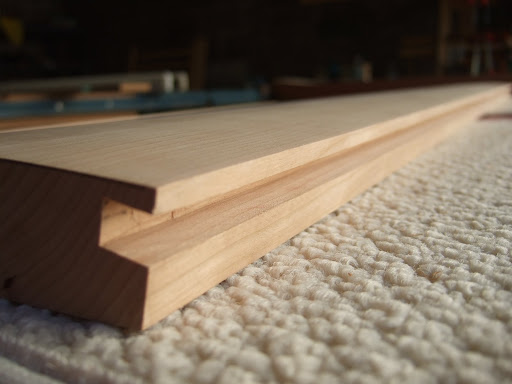
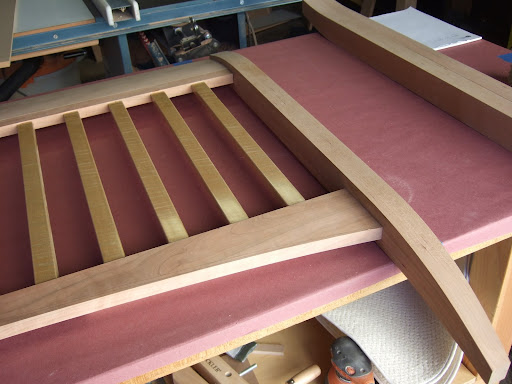
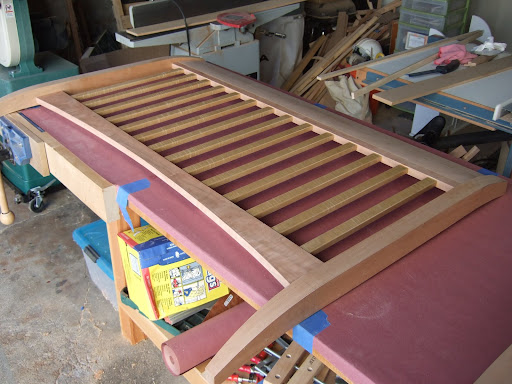
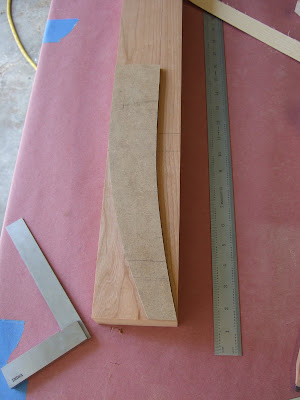
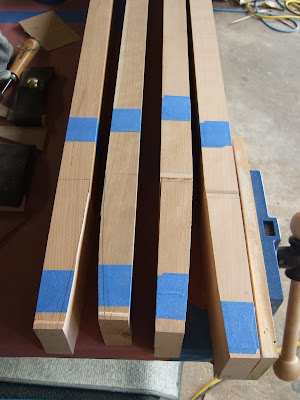
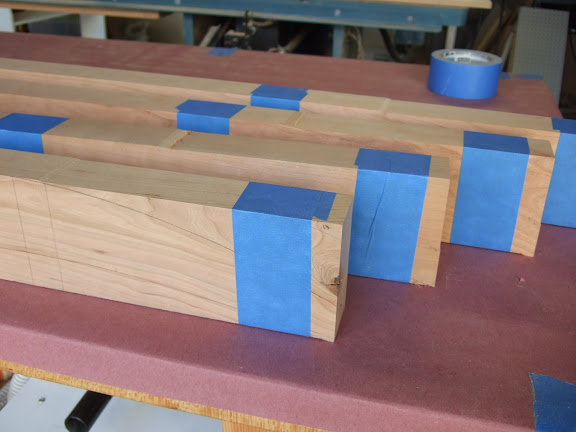
First I cut a groove 1/4" wide and 1/2" deep along the inside edges of the rails and styles. This groove holds the maple panel in place. Next I cut the maple panels to size. As with the mortises, this cut is complicated by the fact that the top tail is curved. Finally, I cut a rabbet along all the edges of each panel: the idea is to leave a 1/4" thick lip that slides into the grooves in the frame. This technique is standard frame-and-panel assembly.

Next I designed decorative cut-outs for the panels. On one side I have a night-time scene: moon and stars. On the other side I have a day-time scene: sun and reeds. The only neat-o aspect of the cut-outs is that the star pattern matches the constellation Scorpius, which is Jonah's zodiac sign. Cut-outs are easy to design, but not so easy to cut out. I used a combination of the power drill, saber saw, and hand tools. Cleaning up the results required lots of hand chiseling.

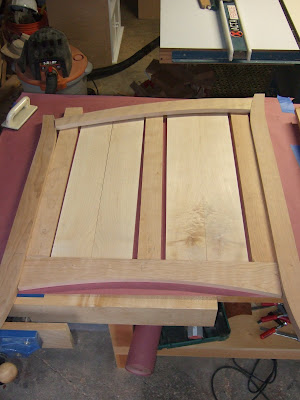
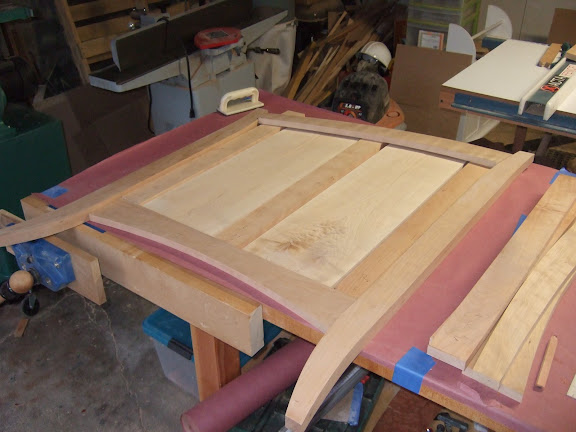
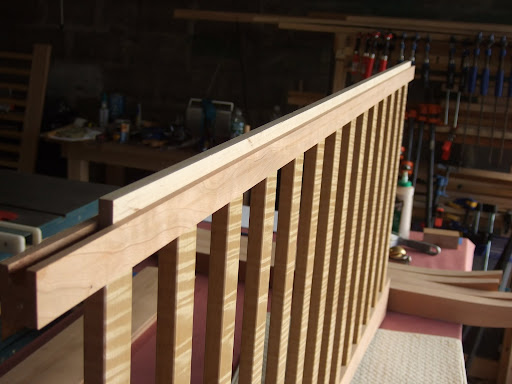
Finally, I glued the parts of each side together. Note that the only glued parts are the rails and styles of the frame. The panel is not glued -- it "floats" in the groove, allowing seasonal expansion and contraction of the wood. All in all, I think the sides came out great. Note, however, the very serious face of the "customer".

Side frame joinery

Each crib side consists of a cherry frame with two maple panels (see previous posts). In this step I made mortise and tenon joints for the frame. The tricky part is that the frame is not entirely square: the top rail is curved. As a result, the mortises go into the top tail at funny angles -- funny angles that need to line up perfectly, or the frame won't fit together correctly!

In the first two pictures you're seeing the three styles (vertical parts of the panel) each with a tenon that fits into a mortise in the bottom rail. This part was fairly straight forward because the styles go into the bottom rail at a right angle. I used the tenoning jig on the tablesaw to cut the tenons, the mortising machine to cut the mortises.

Making the joints for the top rail is much more tricky. My strategy is to extend the lines of each style up over the top rail so that I can see what the angle of the mortise needs to be. Then I use a crazy set up on the mortise machine (not shown because it was too crazy) that holds the top rail at just the right angle. Finally, I have to cut the shoulder of the tenon so that it matches the curve of the rail. What a royal pain! But the results are pretty good.

The last picture shows the resulting frame dry-fitted together. The panels are just lying on the bench behind the frame. I still have several steps left: (1) cut a groove in the inside of the frame to hold the panel, (2) cut the panel to size, (3) cut a lip (a rabbet) on the edge of the panel so it fits in the groove.

Panels

Well, it's been a while since I added anything to this blog -- you can probably guess why! That's not to say that I haven't been working on the crib, bit by bit. Now I want to get you caught up on where I am...

The next step was to make the maple panels for the sides. In the previous entry I had resawn a large board into thinner and smaller boards. Next I edge-glued groups of boards together to form the four panels I need -- two for each side. The clamping set-up for gluing a panel is fairly elaborate: I have pipe clamps holding the boards together, and the clamping cauls holding the boards flat and aligned.

Wednesday, October 22, 2008

Side order

I finally got back in the shop last weekend and made some real progress. The front, back, and legs are basically done, so now I'm focused on the sides. Each side will consist of a cherry frame with solid maple panels. Both the top and bottom are curved, so the joints are tricky; plus, the side must fit perfectly between the front and back, which are also curved.

I started out making a template for the top rail, which curves from the back leg down to the front leg. My idea was to set up the legs on a piece of construction paper and draw in the shape I want. I cut out the paper and used it as a template to cut the rails (two of them; one left and one right). The trickiest part is that the ends of these rails need to be curved to fit the curves of the legs.

Next I cut the bottom rail, which is simpler because at least one edge is straight. Finally, I cut three styles for each side panel -- a left, right, and middle. The next step will be to cut mortise and tenon joints to assemble the frame. Again, the tricky part is that the top joints are not square (more details to come soon!)

Before cutting the frame joints, though, I decided to make the maple panels. Each panel will be about 12 inches wide, 27 inches tall, and 1/2 inch thick. These specs present two problems. First, my jointer is only 6 inches wide, so I can't joint a single 12 inch board. Second, 1/2 inch thick stock is not readily available.

The next six photos show the process of making these panels. I started with a single large 10 inch wide 6/4 maple board, which I cut into six equal size boards. Each little board is about 5 inches wide, so they will fit on the jointer. Then I resawed each board (sliced the board) using the band saw to produce two 3/4 inch thick rough boards. Finally, I rejointed and thickness planed each board down to 1/2 inch. I now have 12 boards, each one is 5 inches wide, 27 inches long, 1/2 inch thick.


These last two pictures show the parts of the side panel assembled roughly as I'm hoping them to look. Once I cut the joints for the frame, I'll cut a groove along the inside edge of the rails and styles to hold the maple panels. Eventually, I'll cut a moon and stars in the panels.

Saturday, September 20, 2008

On the Rails

The last couple of days in the shop I focused on the top rails of the front and back. In the previous post you can see that each rail is a slab of cherry 6" wide and about 1 1/2" thick. In the design these rails curve forward and backward to match the curve of the legs. The rails are then attached to the slat assemblies.

Shaping the rails involved several steps. First, I made a 12 degree cut on the edge of each rail so that when butted against the slat assembly the sit at the proper angle. At this point, though, the faces are still flat. Next I made two very shallow angled cuts on the face of each board that roughly follow the intended curve. Then I used a combination of planing and sanding to finish the curve.


Attaching the rail to the slat assembly presents a challenge. The joint needs to be strong, but it's difficult to clamp because of the angle. My solution is to use a spline. First I cut a 3/8" groove in the mating edges of both parts. I then cut a strip of hard maple (the spline) to join the two pieces. The spline not only strengthens the joint, it also helps keep the parts aligned during clamping.

Here are a few pictures of the front with the legs -- it's really starting to look like a bed! Tomorrow I'll glue the rails and finish shaping the legs.

Saturday, September 13, 2008

New Posts

It's been a couple of weeks since my last post, but I have been working on the crib. In fact, I made the posts!


Each post starts out as a slab of cherry 4 inches wide and about 2 inches thick (a "blank"). In order to make sure that the front and back fit I decided to lay out the shape of the post with the other parts in place. In the first three photos you can see that I clamped the front and top rail where they should be on the post blank. Notice that the top rail will be curved, so I'm positioning it in the outline of that curve on the post blank.


Using the position of the front parts as a guide I made a template for the curve of the foot. I copied that onto all four posts, using a slightly shorter version for the tops of the posts. I cut along those lines on the bandsaw.


After look at the results I felt like the posts were a little boring, so I decided to add a secondary curve on the inside of the foot. This cut can be a problem on the bandsaw because the foot is no longer properly supported. I learned a nice trick to solve this problem in a woodworking class: tape the cutoffs from the first curve back onto the piece, making it look like a whole blank again. Then make the secondary cut. Tomorrow I'll post pictures of the finished legs. Needless to say it takes a lot of scraping and sanding to get the resulting curves smooth.

Thursday, August 28, 2008

Glimmers

Last weekend was a mixed bag. On the one hand I struggled to get two more good-quality coats of lacquer on the slats. On the other hand I finally glued the slats into the top and bottom rails -- the first assembled (and recognizable!) parts of the crib.

Saturday was a warm humid day, and as the sun beat down the water-based spray lacquer became more and more temperamental. I sprayed a couple of fairly ugly coats that dried too fast. I had to sand them smooth, which was a huge pain (see photo of lots of wet/dry sandpaper). I finally got a nice finish coat, which I sanded one more time with 800 grit wet/dry sandpaper, and polished with super-fine steel wool. The surface is silky smooth.

The glue-up was a little tricky, since it involves putting glue on 14 mortise and tenon joints and then getting the whole thing lined up before the glue starts to set. It went remarkably smoothly and I was able to set the clamps in plenty of time.

Here are the resulting front and back panels of the crib -- note that the cherry is not finished yet, so it looks pale and somewhat cool next to the maple. Once the rest of the crib is done I'll finish the cherry with shellac and probably a coat or two of water-based varnish for durability.

Notice that the bottom rail of the front is curved. I cut this curve after cutting and fitting all the joints, but before gluing. This is all fine and well, except that the curve makes it very hard to clamp the assembly. One neat trick I learned is to save the cut-off piece from the curve cut and use it as a brace for the clamps. It fits perfectly and squares up the bottom rail. The next step will be to shape and attach the decorative top rails that curve forward and backward to give the "sleigh" shape.