Thursday, August 28, 2008

Glimmers

Last weekend was a mixed bag. On the one hand I struggled to get two more good-quality coats of lacquer on the slats. On the other hand I finally glued the slats into the top and bottom rails -- the first assembled (and recognizable!) parts of the crib.

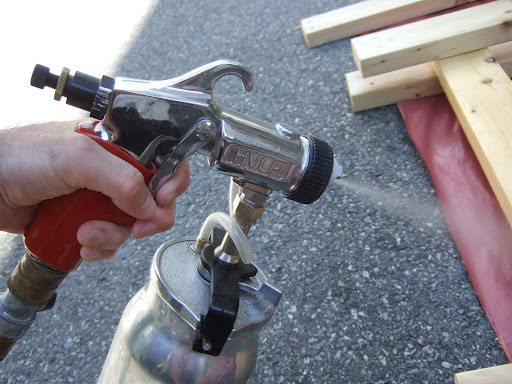
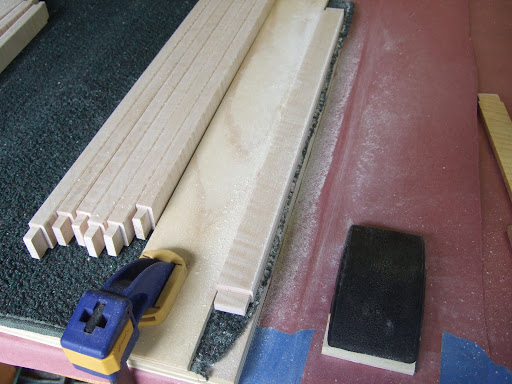
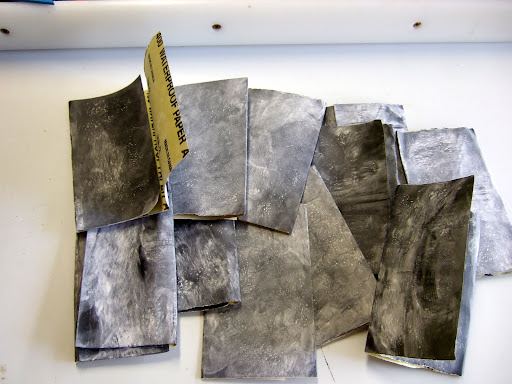
Saturday was a warm humid day, and as the sun beat down the water-based spray lacquer became more and more temperamental. I sprayed a couple of fairly ugly coats that dried too fast. I had to sand them smooth, which was a huge pain (see photo of lots of wet/dry sandpaper). I finally got a nice finish coat, which I sanded one more time with 800 grit wet/dry sandpaper, and polished with super-fine steel wool. The surface is silky smooth.

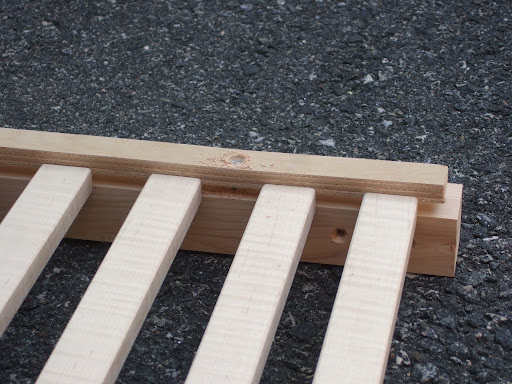
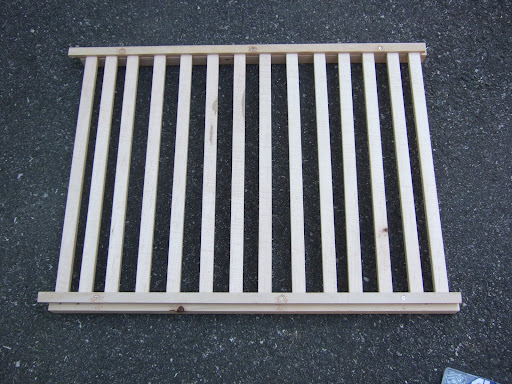
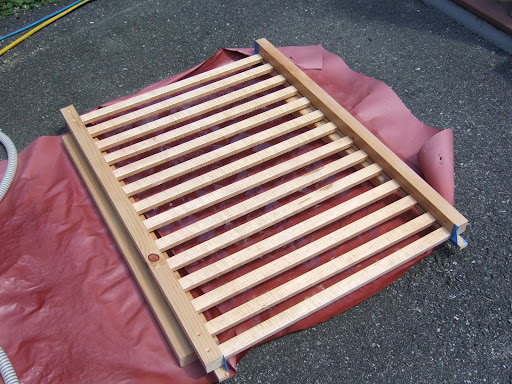
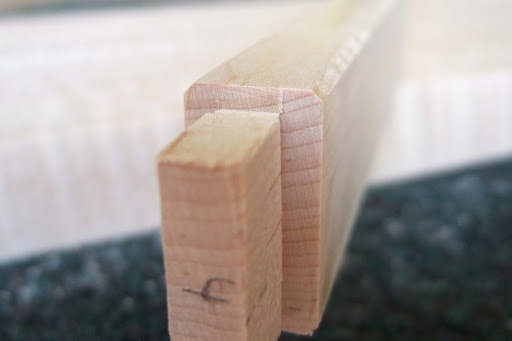
The glue-up was a little tricky, since it involves putting glue on 14 mortise and tenon joints and then getting the whole thing lined up before the glue starts to set. It went remarkably smoothly and I was able to set the clamps in plenty of time.

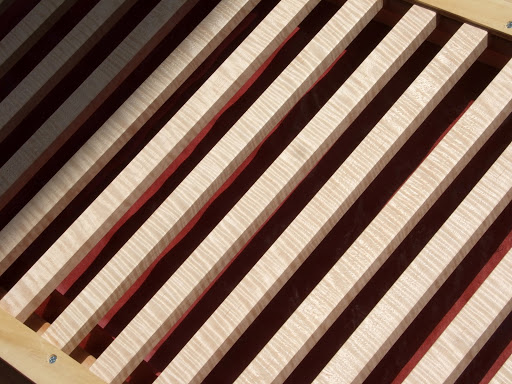
Here are the resulting front and back panels of the crib -- note that the cherry is not finished yet, so it looks pale and somewhat cool next to the maple. Once the rest of the crib is done I'll finish the cherry with shellac and probably a coat or two of water-based varnish for durability.

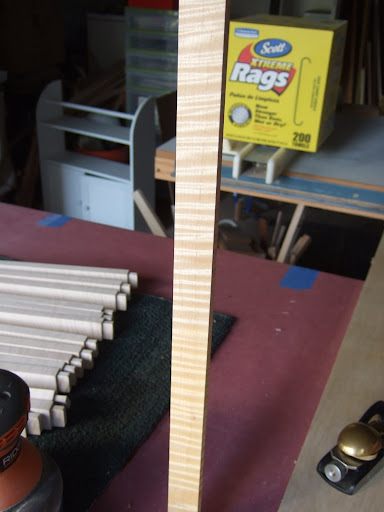
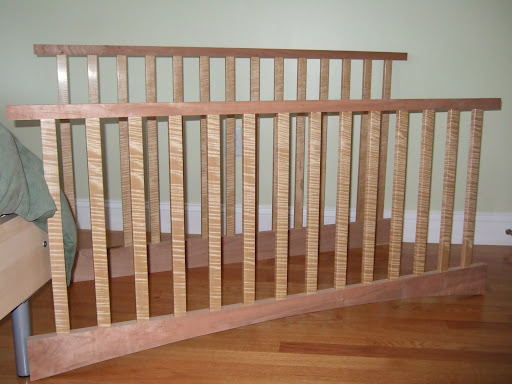
Notice that the bottom rail of the front is curved. I cut this curve after cutting and fitting all the joints, but before gluing. This is all fine and well, except that the curve makes it very hard to clamp the assembly. One neat trick I learned is to save the cut-off piece from the curve cut and use it as a brace for the clamps. It fits perfectly and squares up the bottom rail. The next step will be to shape and attach the decorative top rails that curve forward and backward to give the "sleigh" shape.

Saturday, August 16, 2008

Finish before you start

Every now and again I manage to learn from a previous mistake and do it right the next time. In this case I realized that it would be much easier to pre-finish the slats than to finish them after assembly. I also realized that I might want to use different finishes for the slats, since they're maple and the rest is cherry. I decided to spray them with water-based lacquer -- Target Coatings makes a fantastic product called USL. Water-based finishes are nice because they clean up easily, are non-toxic, and safe to spray without crazy equipment (like "explosion-proof exhaust fans".)

In order to make spraying easy I came up with this set-up: the slats are held in a frame made of scrap wood. I can easily spray them all at the same time, but then disassemble it to sand between coats. In addition, the scrap pieces cover the tenons so that they don't get finish on them.

I started out with a thinned-out coat to seal the wood and penetrate for better "popping" of the grain. I also added a tiny bit of aniline dye stain (from J.E. Moser's) directly to the finish to compensate for a common problem with water-based finished -- unlike solvent-based finishes, they impart no yellow color and can make wood look cold.

I sprayed a total of four coats of USL using my HVLP (high-volume, low-pressure) spray system. I bought a 3-turbine machine several years ago from American Turbine -- it was pretty expensive considering that it's basically a glorified vacuum cleaner with a hose and a spray gun attached. The lacquer goes on easily and dries fast.


All in all I'm pretty happy with the results. Look at that grain! I'll probably sand them again and add two more coats tomorrow -- just because.

Saturday, August 9, 2008

Shaping the slats

After I finished cutting, joining, and sanding the slats I noticed something about them: they have very sharp edges. "Sharp" is not a good property for kid's furniture. I decided to break the edges by adding a chamfer along the edge. I like a chamfer better than rounding -- it looks more refined.


Ordinarily I'd add a chamfer either by sanding, or using a block plane. But I've got 28 slats to shape, each with four edges -- that's 112 edges to chamfer! I need the process to be quick and produce a uniform chamfer on all edges. The ideal tool for this job is a router table with a chamfering bit. Since I don't have a router table and the parts are small, I clamped the router upside down in my bench vise.

This set up worked really well, and all I had to do afterwords was lightly sand the edge to clean it up.

Friday, August 1, 2008

40 Hours in the Desert

Sanding. Ug. It's loud, dusty, and boring. But it's got to be done. Last weekend I made one pass over all the slats with P150 using my random orbit sander. P150 is good place to start to remove mill marks from the planer and sand away any tear-out in the curly maple. I still need to go to P220, and probably down to P320 before applying the finish.

So far I've been very careful to mark the slats, so that adjacent slats come from adjacent parts of the original board, and so that all the slats are oriented the same way. To this end I numbered the slats before they were cut, and marked each one with arrows indicating its final orientation. The problem now is that I need to sand the entire surface, including the markings. To solve this problem I transferred each number to the end of the bottom tenon, oriented so that outer face of the slat is up when the number is up. Obsessive? Perhaps. But I think it will pay off.

The next step is to glue the slats into the top and bottom rails. Once glued, however, the slats will be difficult to finish. So, my plan is to pre-finish them with two coats of shellac before they are glued, which will be much easier. The last picture shows a test strip finished with shellac on the top and boiled linseed oil on the bottom. I think the BLO is too yellow and doesn't pop the figure more than shellac. Plus, shellac is totally non-toxic -- in fact, it's used as a coating on foods, such as candy.