Saturday, September 20, 2008

On the Rails

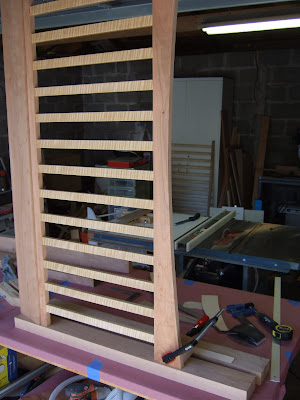
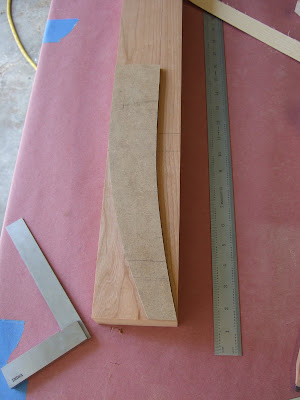
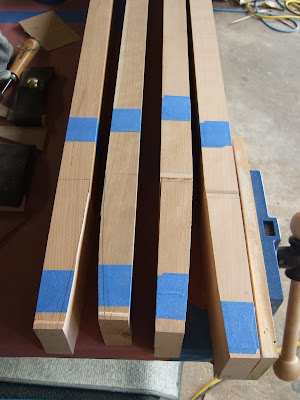
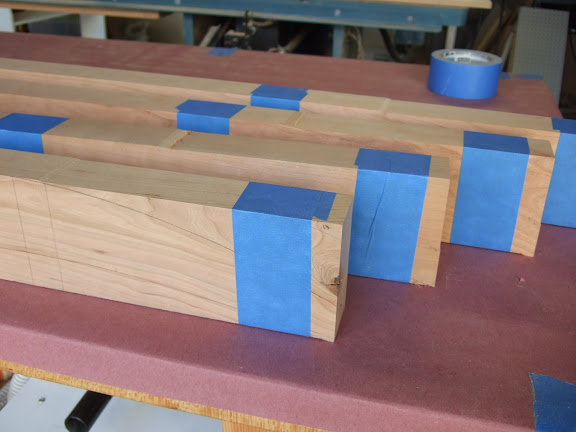
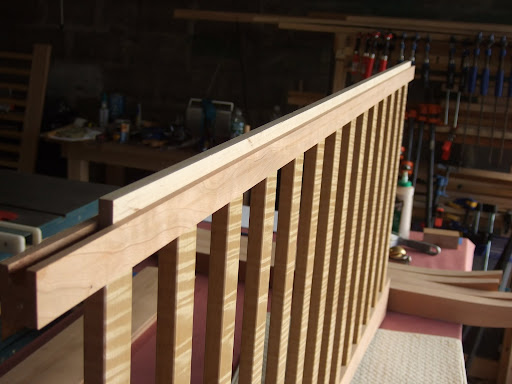
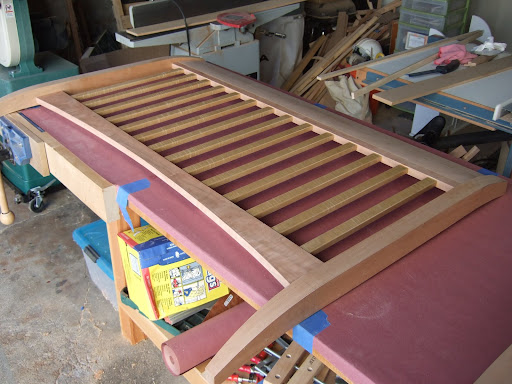
The last couple of days in the shop I focused on the top rails of the front and back. In the previous post you can see that each rail is a slab of cherry 6" wide and about 1 1/2" thick. In the design these rails curve forward and backward to match the curve of the legs. The rails are then attached to the slat assemblies.

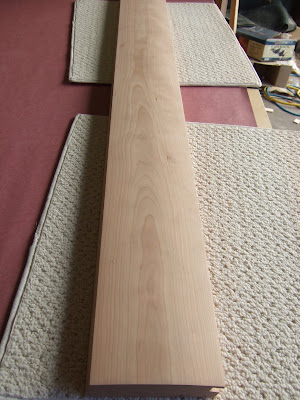
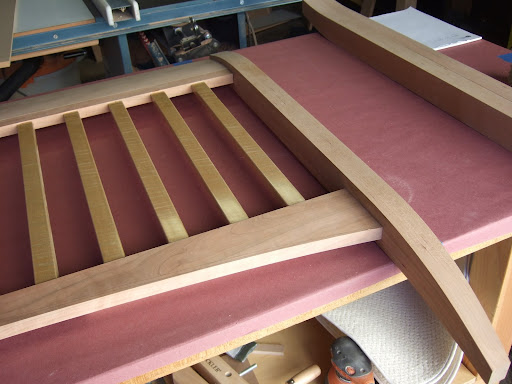
Shaping the rails involved several steps. First, I made a 12 degree cut on the edge of each rail so that when butted against the slat assembly the sit at the proper angle. At this point, though, the faces are still flat. Next I made two very shallow angled cuts on the face of each board that roughly follow the intended curve. Then I used a combination of planing and sanding to finish the curve.


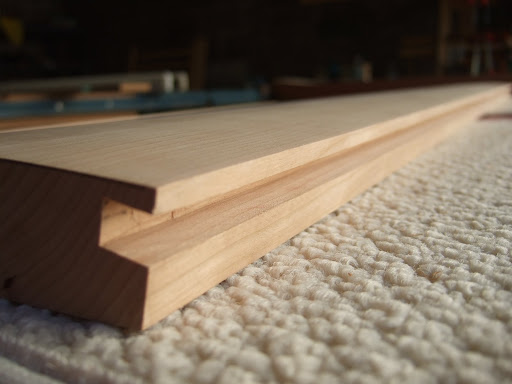
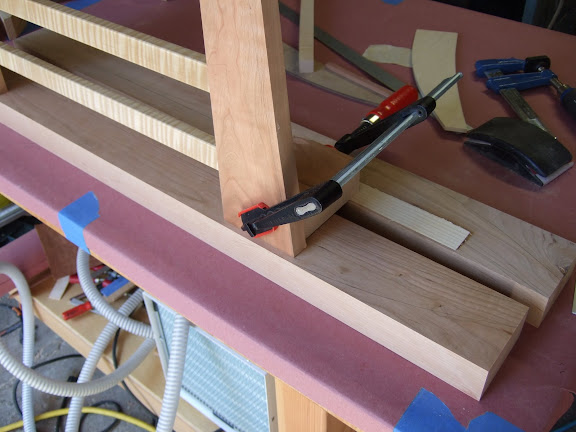
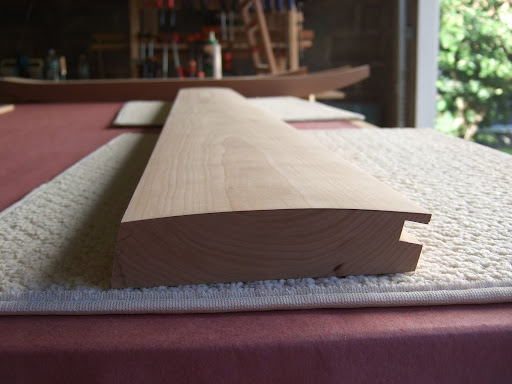
Attaching the rail to the slat assembly presents a challenge. The joint needs to be strong, but it's difficult to clamp because of the angle. My solution is to use a spline. First I cut a 3/8" groove in the mating edges of both parts. I then cut a strip of hard maple (the spline) to join the two pieces. The spline not only strengthens the joint, it also helps keep the parts aligned during clamping.

Here are a few pictures of the front with the legs -- it's really starting to look like a bed! Tomorrow I'll glue the rails and finish shaping the legs.

Saturday, September 13, 2008

New Posts

It's been a couple of weeks since my last post, but I have been working on the crib. In fact, I made the posts!


Each post starts out as a slab of cherry 4 inches wide and about 2 inches thick (a "blank"). In order to make sure that the front and back fit I decided to lay out the shape of the post with the other parts in place. In the first three photos you can see that I clamped the front and top rail where they should be on the post blank. Notice that the top rail will be curved, so I'm positioning it in the outline of that curve on the post blank.


Using the position of the front parts as a guide I made a template for the curve of the foot. I copied that onto all four posts, using a slightly shorter version for the tops of the posts. I cut along those lines on the bandsaw.


After look at the results I felt like the posts were a little boring, so I decided to add a secondary curve on the inside of the foot. This cut can be a problem on the bandsaw because the foot is no longer properly supported. I learned a nice trick to solve this problem in a woodworking class: tape the cutoffs from the first curve back onto the piece, making it look like a whole blank again. Then make the secondary cut. Tomorrow I'll post pictures of the finished legs. Needless to say it takes a lot of scraping and sanding to get the resulting curves smooth.