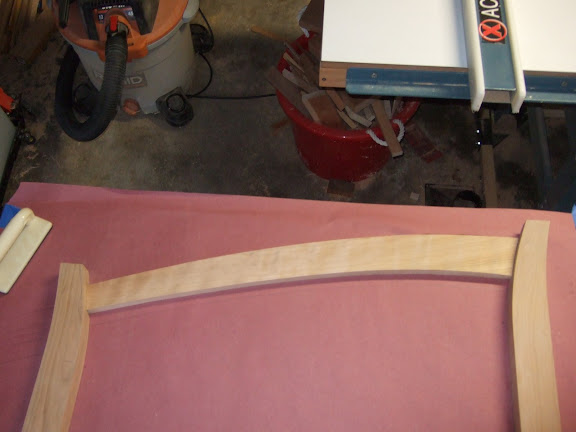
 I started out making a template for the top rail, which curves from the back leg down to the front leg. My idea was to set up the legs on a piece of construction paper and draw in the shape I want. I cut out the paper and used it as a template to cut the rails (two of them; one left and one right). The trickiest part is that the ends of these rails need to be curved to fit the curves of the legs.
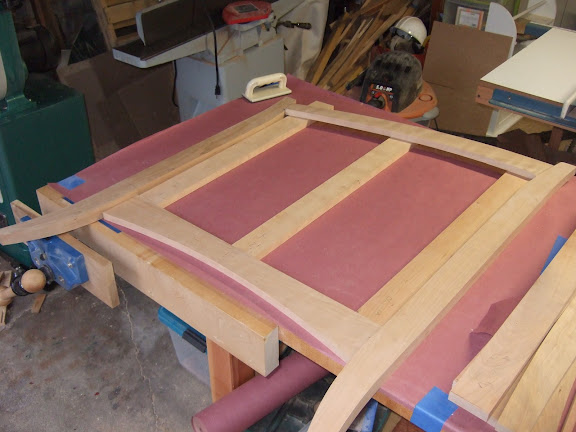
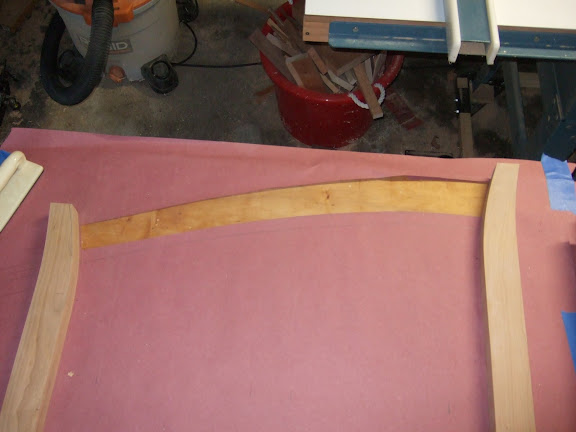
 Next I cut the bottom rail, which is simpler because at least one edge is straight. Finally, I cut three styles for each side panel -- a left, right, and middle. The next step will be to cut mortise and tenon joints to assemble the frame. Again, the tricky part is that the top joints are not square (more details to come soon!)
Before cutting the frame joints, though, I decided to make the maple panels. Each panel will be about 12 inches wide, 27 inches tall, and 1/2 inch thick. These specs present two problems. First, my jointer is only 6 inches wide, so I can't joint a single 12 inch board. Second, 1/2 inch thick stock is not readily available.
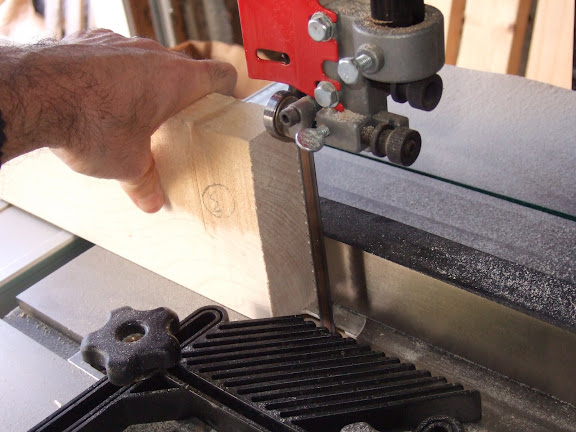
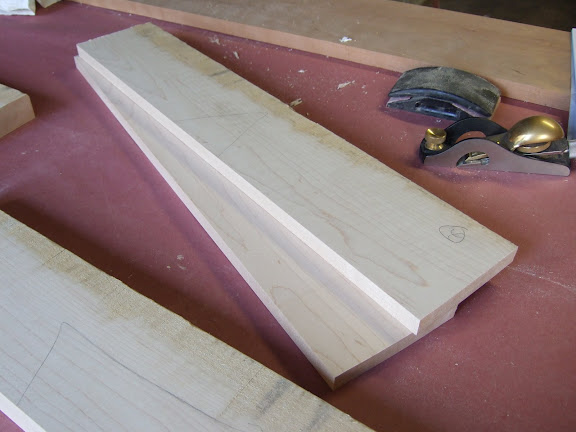
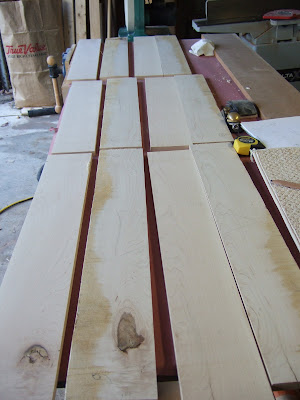
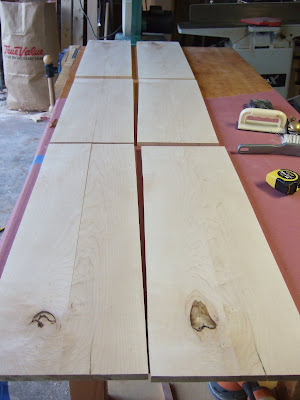
The next six photos show the process of making these panels. I started with a single large 10 inch wide 6/4 maple board, which I cut into six equal size boards. Each little board is about 5 inches wide, so they will fit on the jointer. Then I resawed each board (sliced the board) using the band saw to produce two 3/4 inch thick rough boards. Finally, I rejointed and thickness planed each board down to 1/2 inch. I now have 12 boards, each one is 5 inches wide, 27 inches long, 1/2 inch thick.
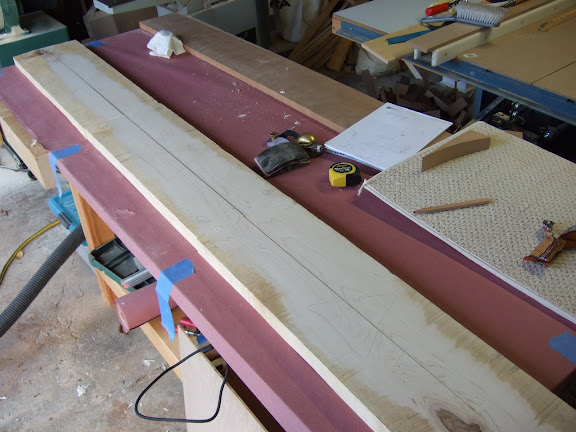
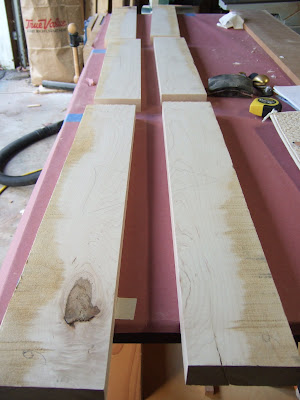
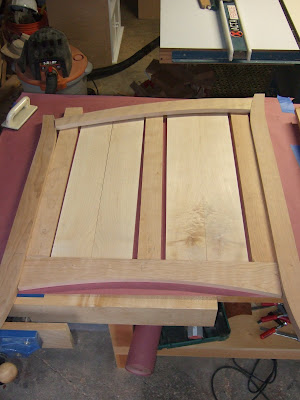
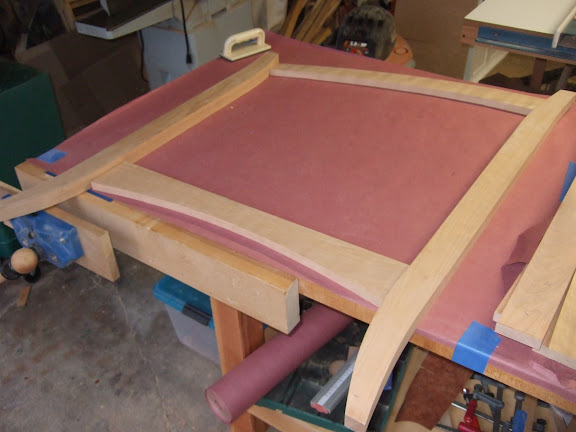
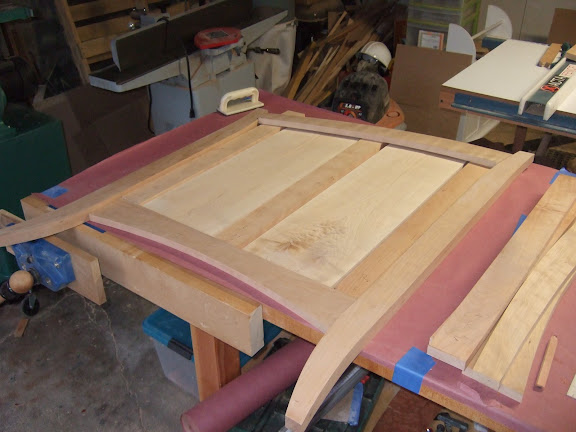 These last two pictures show the parts of the side panel assembled roughly as I'm hoping them to look. Once I cut the joints for the frame, I'll cut a groove along the inside edge of the rails and styles to hold the maple panels. Eventually, I'll cut a moon and stars in the panels.

3 comments:
Looks like a really nice piece of furniture. Thanks for taking the time to describe the process. How'd it turn out?
Thanks! Well, the bad news is that it's not done yet -- and the baby is now 3 months old. Somehow, I seem to have a lot less time to work on it these days...
Yeah, I can relate. Everything gets put on hold when you've got a little baby.
Post a Comment